Northover Ridge is a 36 km loop located in the Kananaskis Region in Peter Lougheed Provincial Park along the Continental Divide. With roughly 1500m of elevation gain, it takes you through amazing terrain, several beautiful lakes, high up on a stunning ridge traverse, and starting/ending your trip at the wonderful Upper Kananaskis Lake. I am grateful to be able to say that I’ve done quite a few backpacking trips here at home in Canadian Rockies, but this was one that had remained on my list for the past few years. I had heard about its beauty, its intensity, and its spicy ridge traverse. It intrigued me and caught my interest because of these things but for some reason, either campground bookings or timing with days off with friends, it just never happened.
Finally, the stars aligned last summer and I was able to experience the true, wild, magic that is Northover Ridge. Myself, along with two of my girlfriends Tera and Kat, set out for our two day adventure at the end of July. Typically when backpacking this route it is done in 3 days. It is also a popular trail running route that people do as a big day trail run. If you are planning to backpack like us though (and most others), there are two popular campgrounds along the route that make it easy to plan for your two nights. However, with all of us girls only getting two days off work a week, we decided to push it into 2 days/1 night instead. This worked for us, but I will be honest, it was big and we were exhausted by the end.
We left Banff on the Sunday morning to get to the trail head for a nice early start. We knew we had a big day ahead, so we wanted to make sure we had lots of daylight ahead of us. It was a surprisingly cold morning, but the sun warmed things up quickly as we got to the parking lot. There are two options for parking: the Upper Kananaskis Lakes parking lot and the North Interlakes parking lot. We opted for parking at Upper Kananaskis Lakes. Disclaimer: this will add about 5km to the end of your trip!
From the Upper Kananskis Lakes parking lot, you’ll walk along the trail that follows the lake for roughly 5km or so. Many other hikers will branch off for the Rawson Lake Trail early on, however, do not take this trail and make sure to keep following along the lake. After roughly 5km (maybe a bit more), you need to branch off on a trail to the left that heads towards Hidden Lake. This can be easy to miss, so keep your eye out. We used maps.me to make sure we didn’t miss this junction and it was very helpful. From here, you will follow the trail to Hidden Lake. We read that this trail can have some bushwhacking, but we found it fairly straight forward to follow. We also read that the trail can be very full of mosquitos and that part we did unfortunately find true! Yuck! Make sure to pack your bug spray.
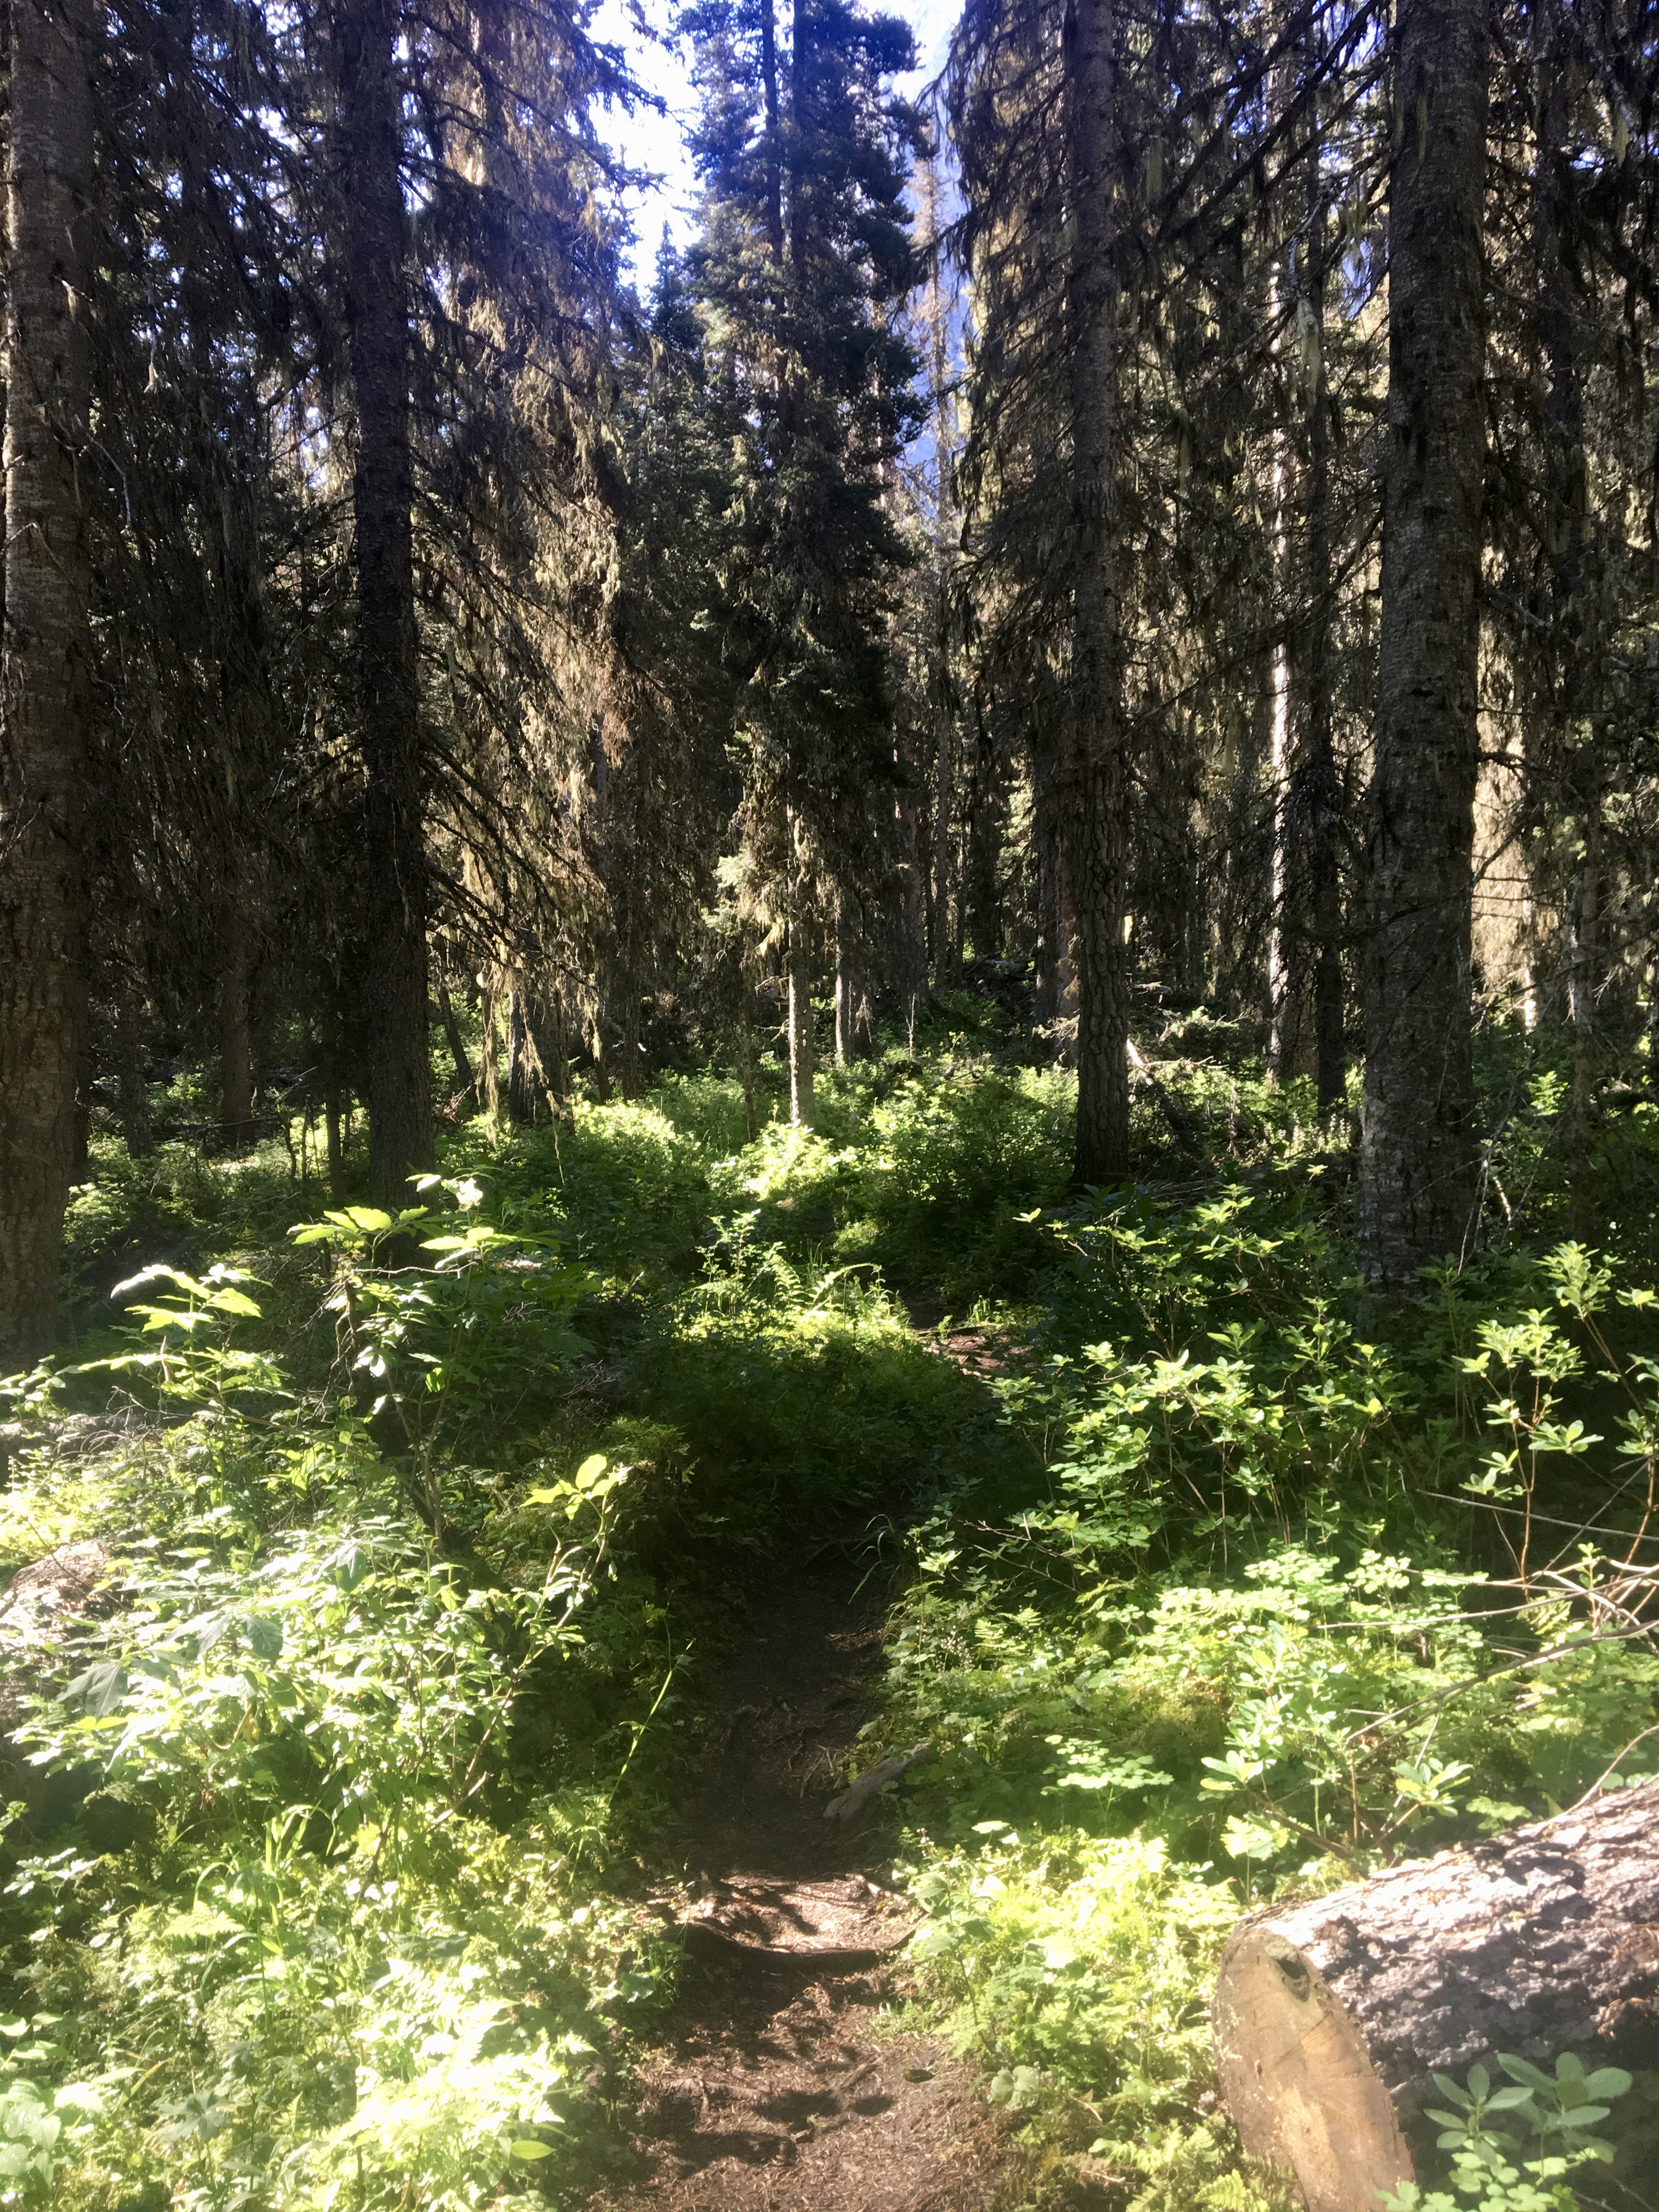
(Right photo is the trail that branches off for Hidden Lake)
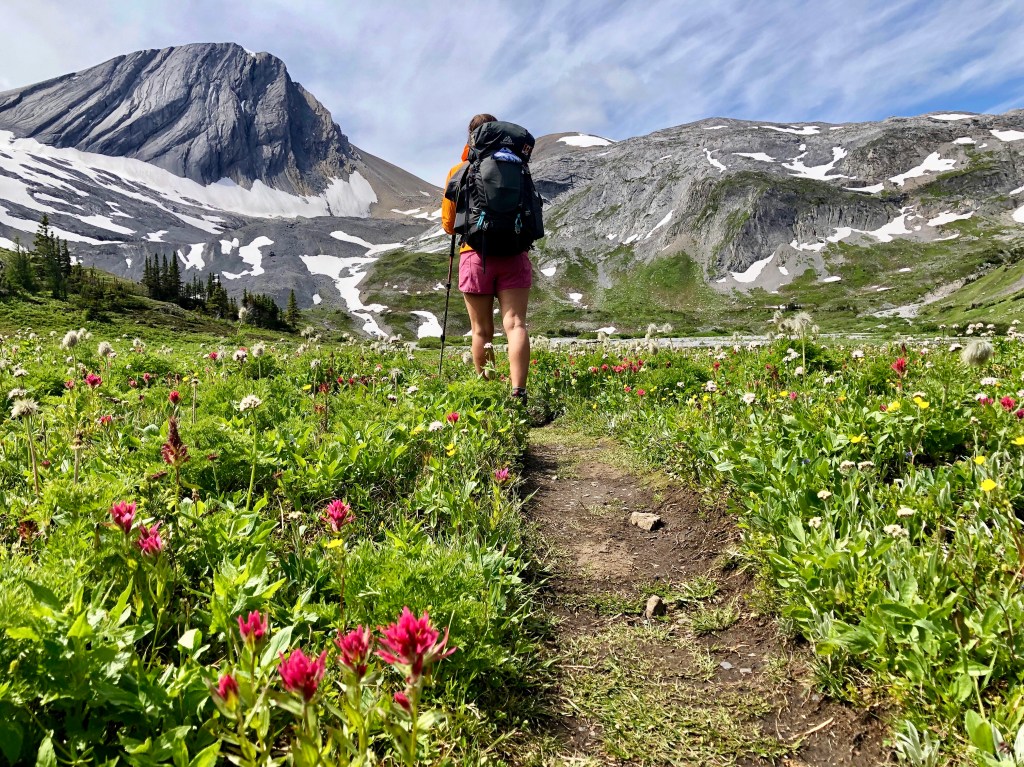
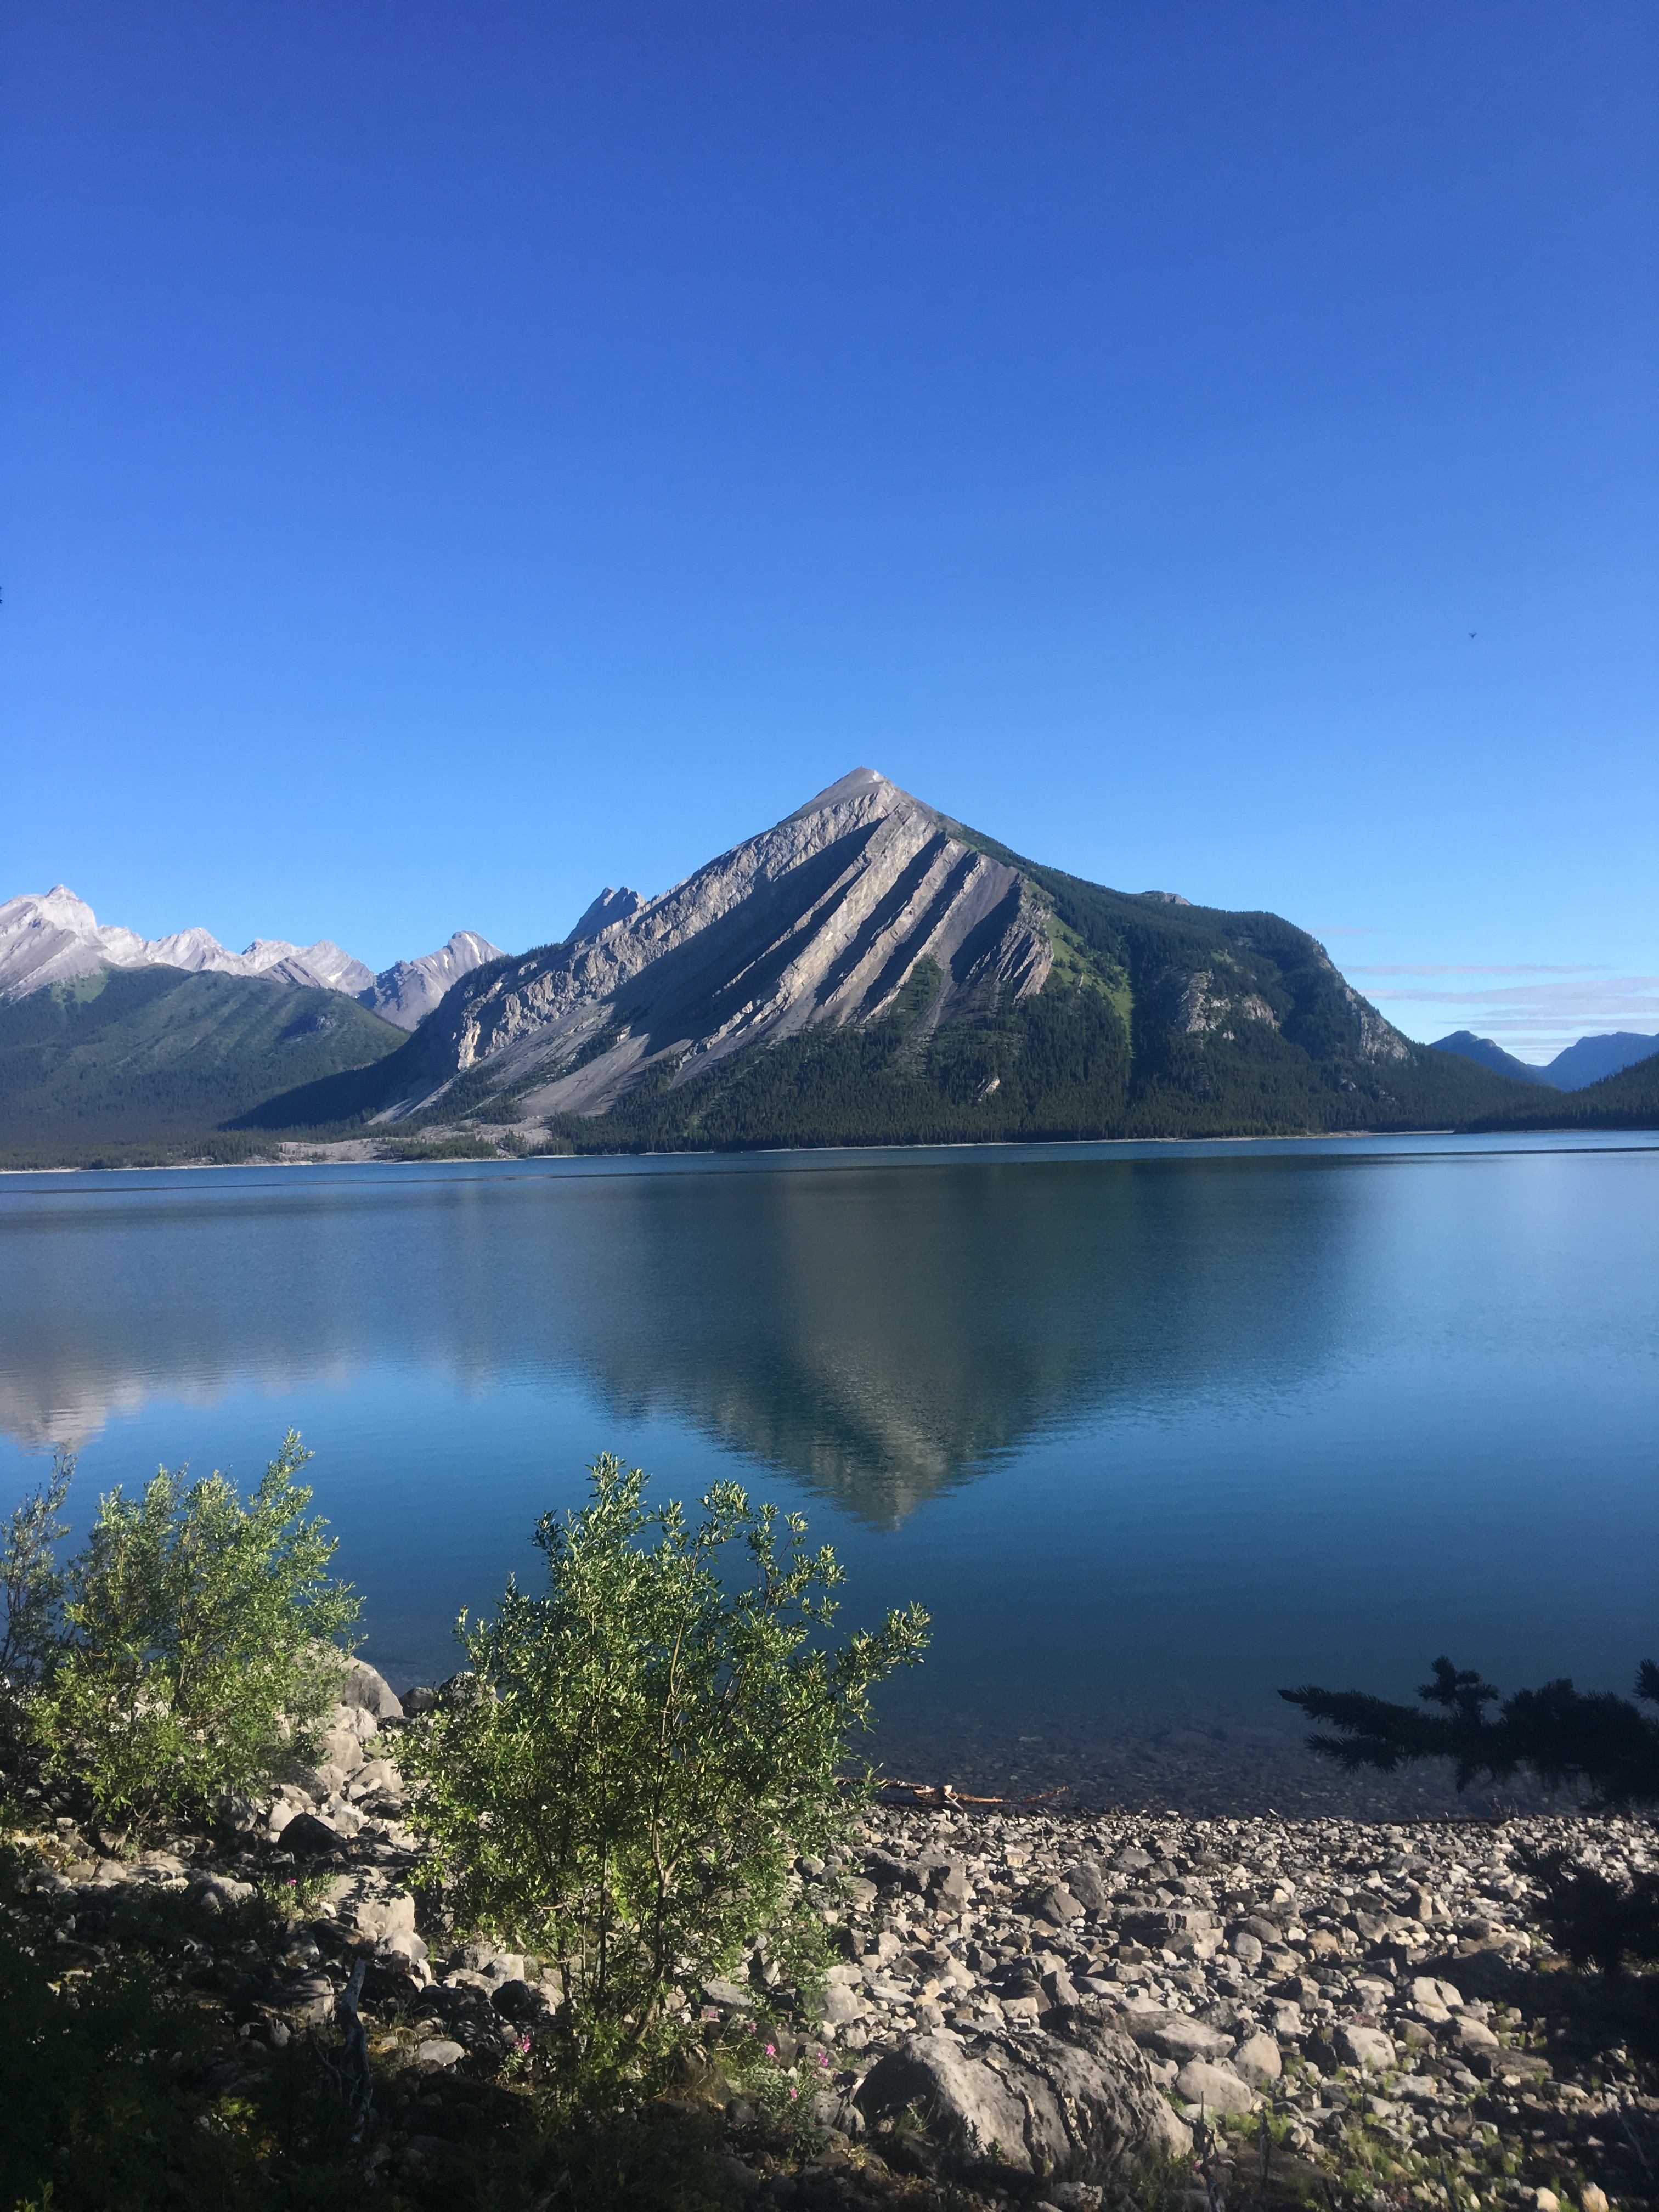
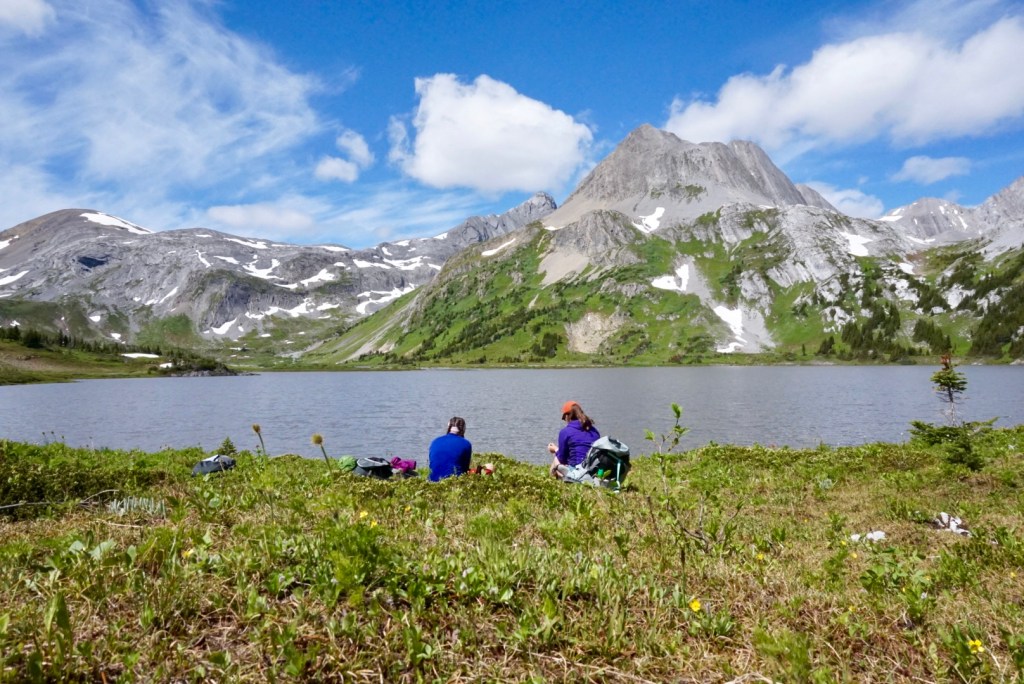
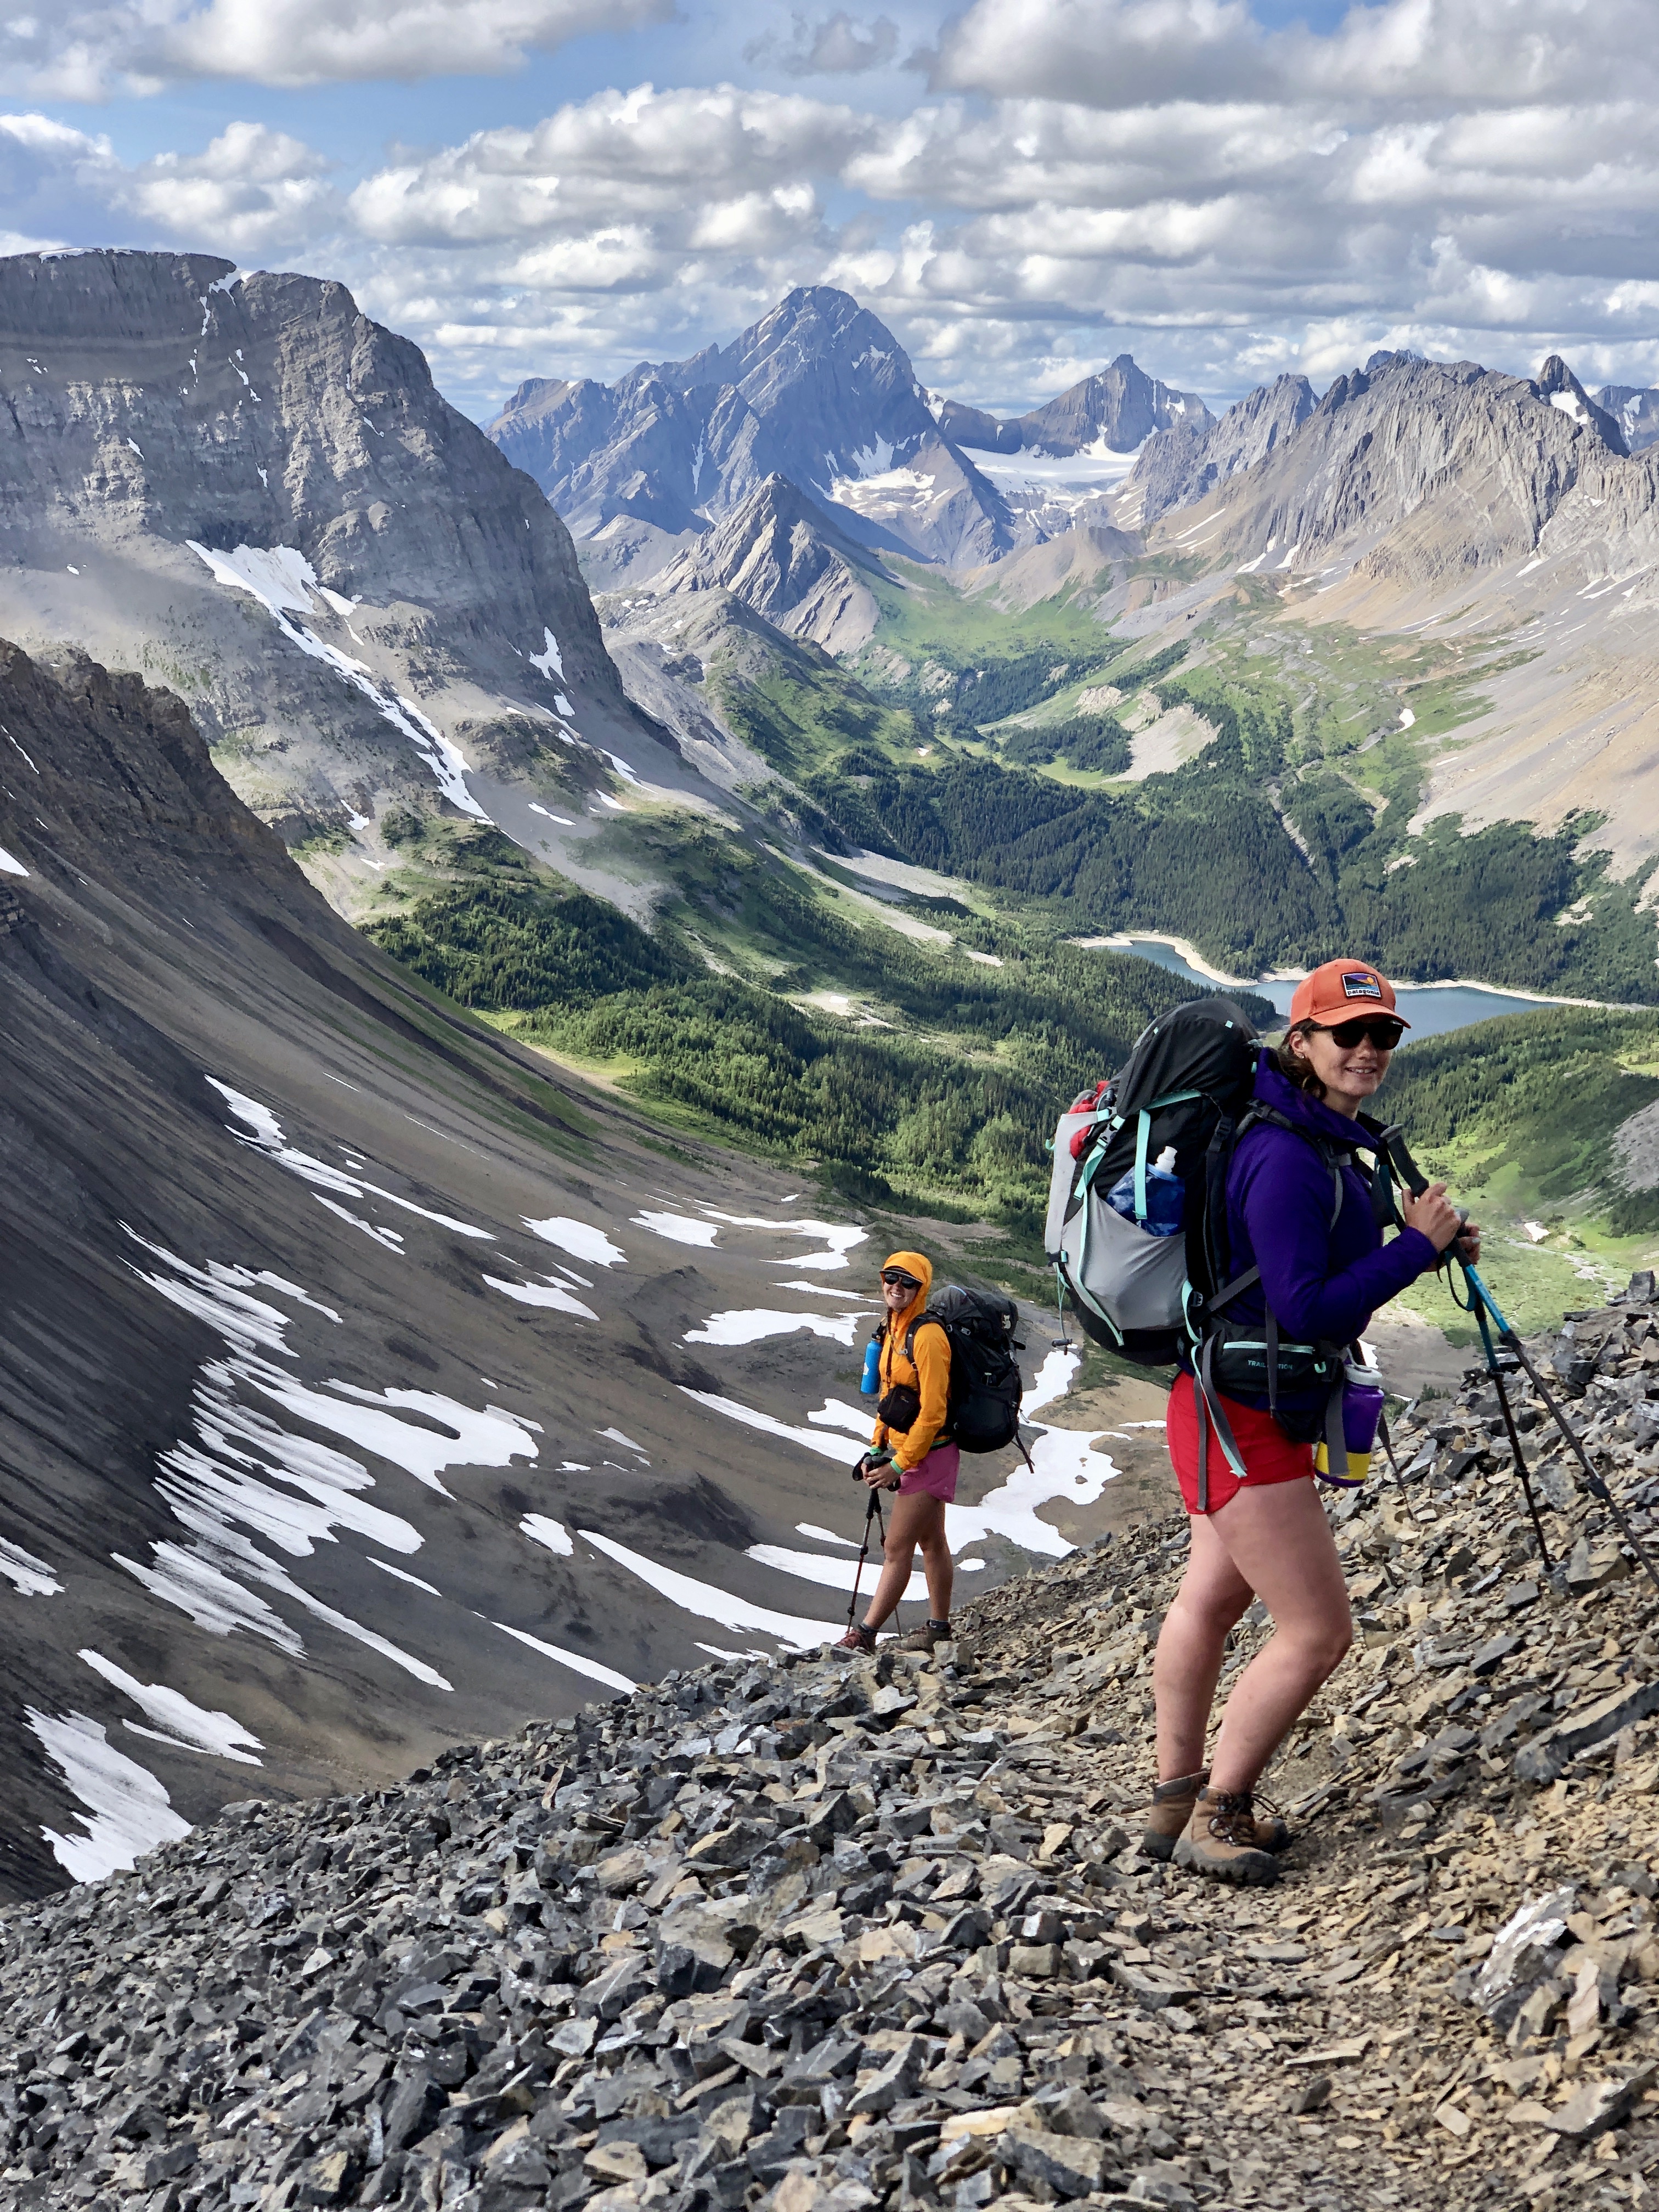
Once you get to Hidden Lake, you can either walk along the lake or take the trail in the woods (depending on the water level). The water was fairly high for us, so we continued on the trail in the forest to the back of the lake. From the back of Hidden Lake, the trail goes UP! You will start to gain a lot of elevation. Once you’re out of the trees, the trail takes you through rock and scree. You will want good boots and poles for this, especially with your heavy pack. We did not find the trail hard to follow and it was marked with cairns through the rocky sections. When you pause to catch your breath (because you’ll need to), make sure to look back! The view of the Upper Kananaskis Lake is amazing from this point. From here on out, there are endless amazing views to enjoy. You’ll see waterfalls and lots of wildflowers (depending on the time of year) as you make your way towards Aster Lake.
After you make it through the scree section you’ll find yourself back in the trees and descending back to a creek. You’ll hike along this beautiful creek for a while, but keep an eye on your map as this section can send you a few different ways. Keep your head up and follow the trail carefully. You will know you’re close to Aster Lake Campground when you hit the big outhouse. If this is your stop for the night, then congrats! It’s time to take off your pack, kick off your boots, and relax amongst the beautiful views. You are roughly 12km into your journey at this point.
If this is not your stop for the night, then enjoy a nice lunch break here and continue on! Your next (most likely) stop is Three Isle Lake, and you will want good weather for this section as it will take you high up along the ridge.
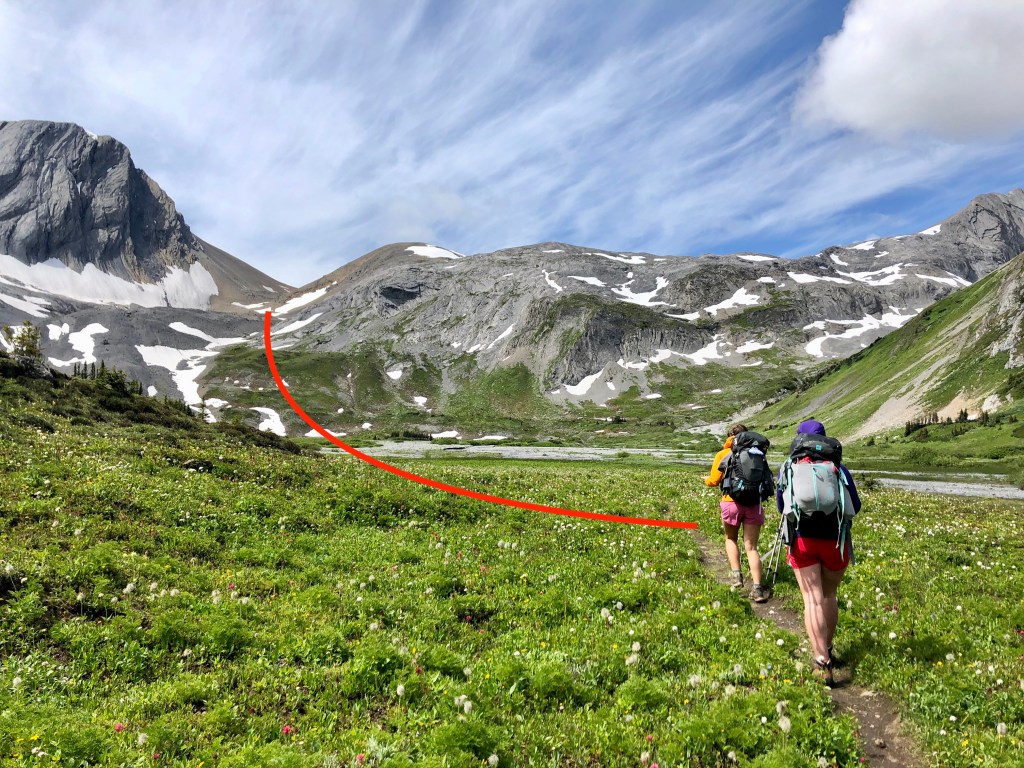
From the campground, the trail will take you all the way around Aster Lake. At the back of the lake, you will walk through gorgeous alpine meadows and eventually you will be back in the scree as you make your way up. From the lake, follow the trail straight along the creek bed! You will be heading towards a grassy slope that is nearly straight across from Aster Lake. Do not branch off on other marked trails to your left or right. We had read about other parties doing so, and it cost them a lot of time. Keep following your map and head towards Mount Northover. We made sure not to make this mistake, so a big thank you to their blog post for giving us the heads up. Reference your map or GPS if you are worried. You will be heading in the direction of the red line on the photo below.
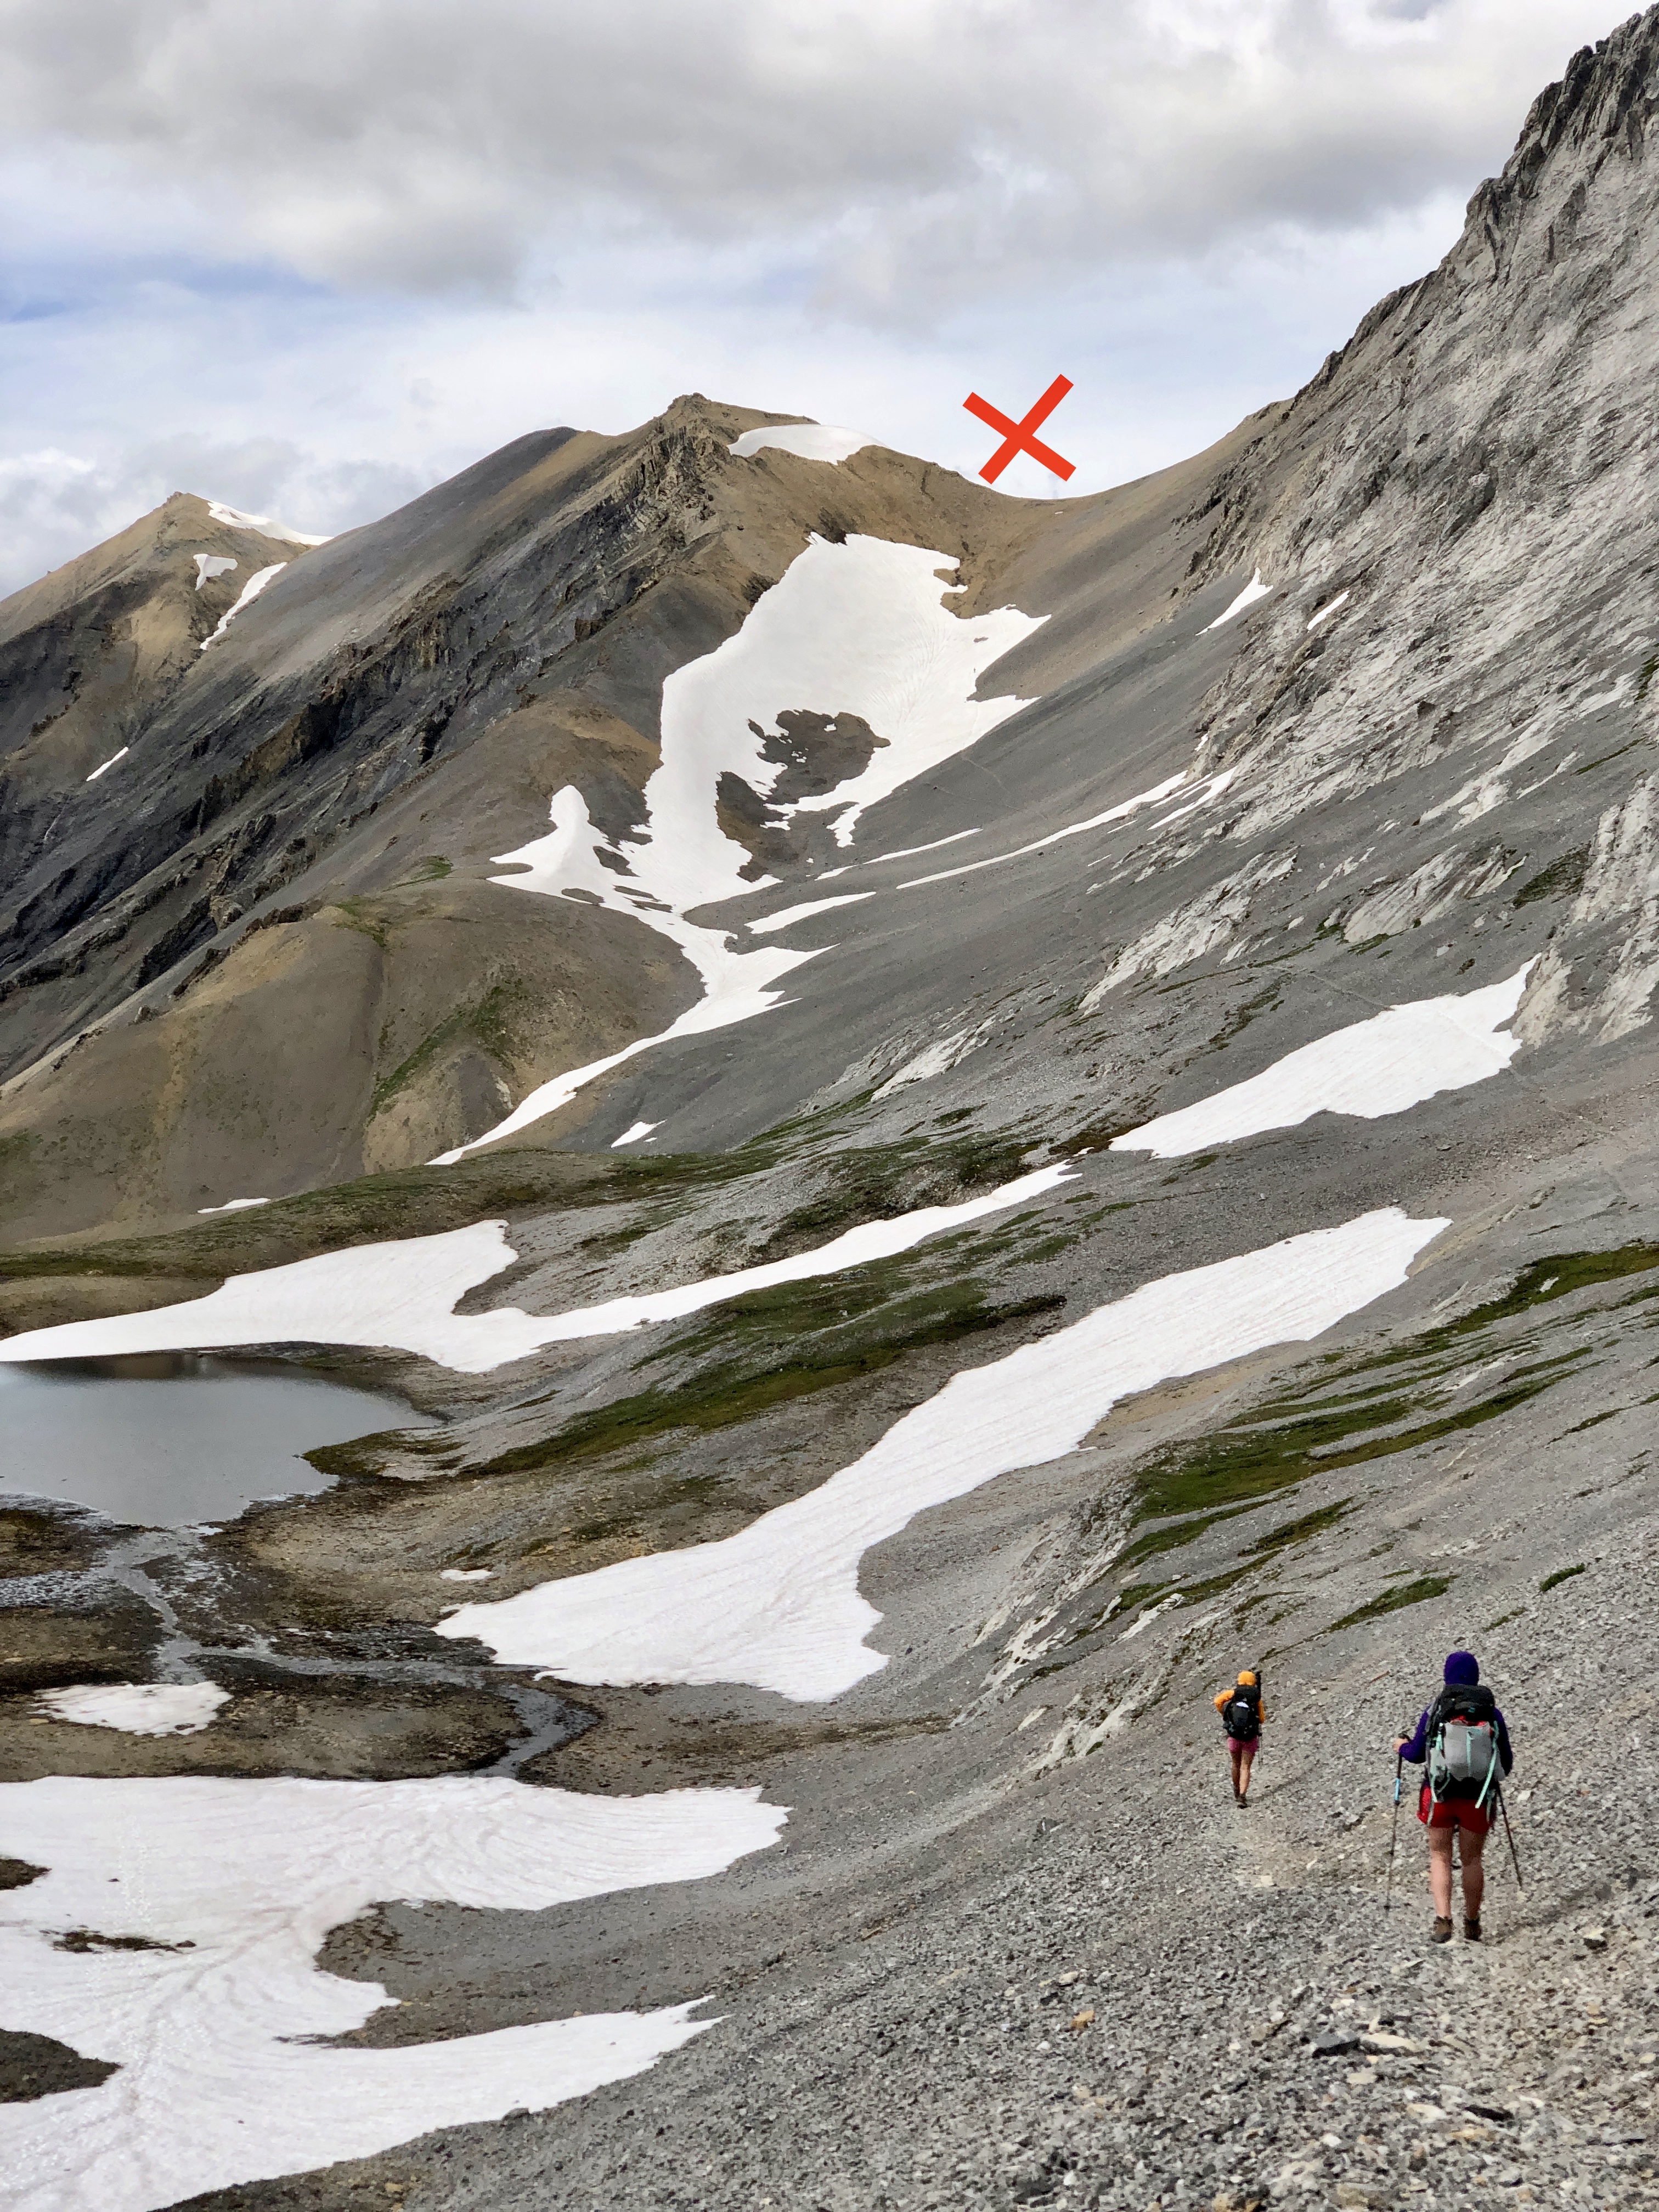
Once you hike up the grassy slope, you will find yourself continuing up higher back into scree. There are many cairns marking the way and the trail is easy to see. Eventually, the trail will take you to the right, behind Mount Northover. Throughout this next section, you are hiking right along the Alberta/BC Border which is pretty neat! As you continue on, you will see some tarns down below to your left. Those are in BC (and people actually use this as a camping spot as well). Enjoy the views as they just get more incredible as you keep following the trail up. Eventually, you will come to a steep scree slope that you need to hike up in order to gain the ridge. When we hit this section there was a fair bit of snow still, but luckily the previous steps people had put in were easy for us to follow. The red “x” in the photo below is where you need to head to gain the ridge.
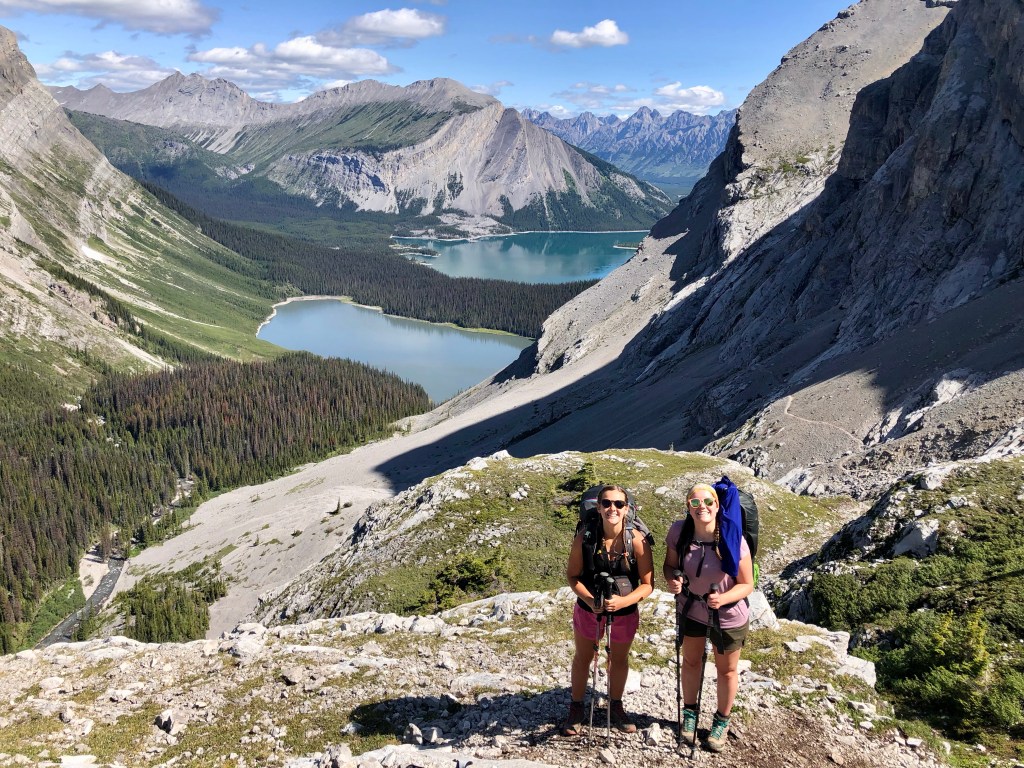
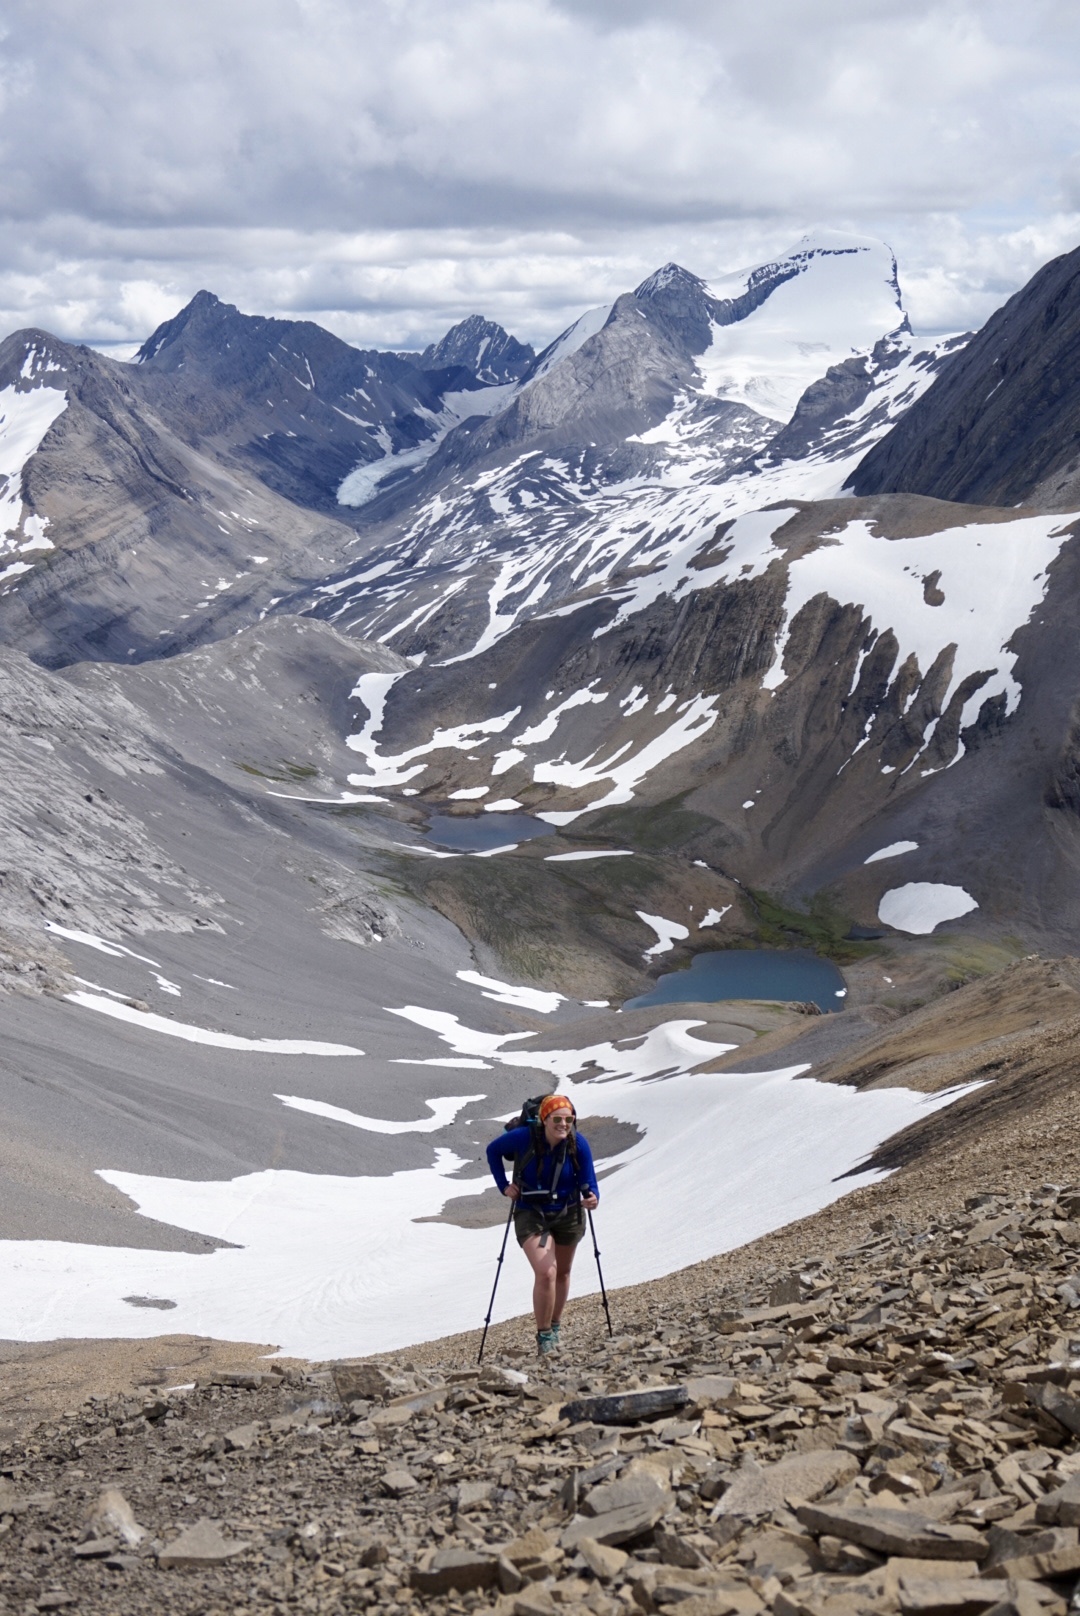
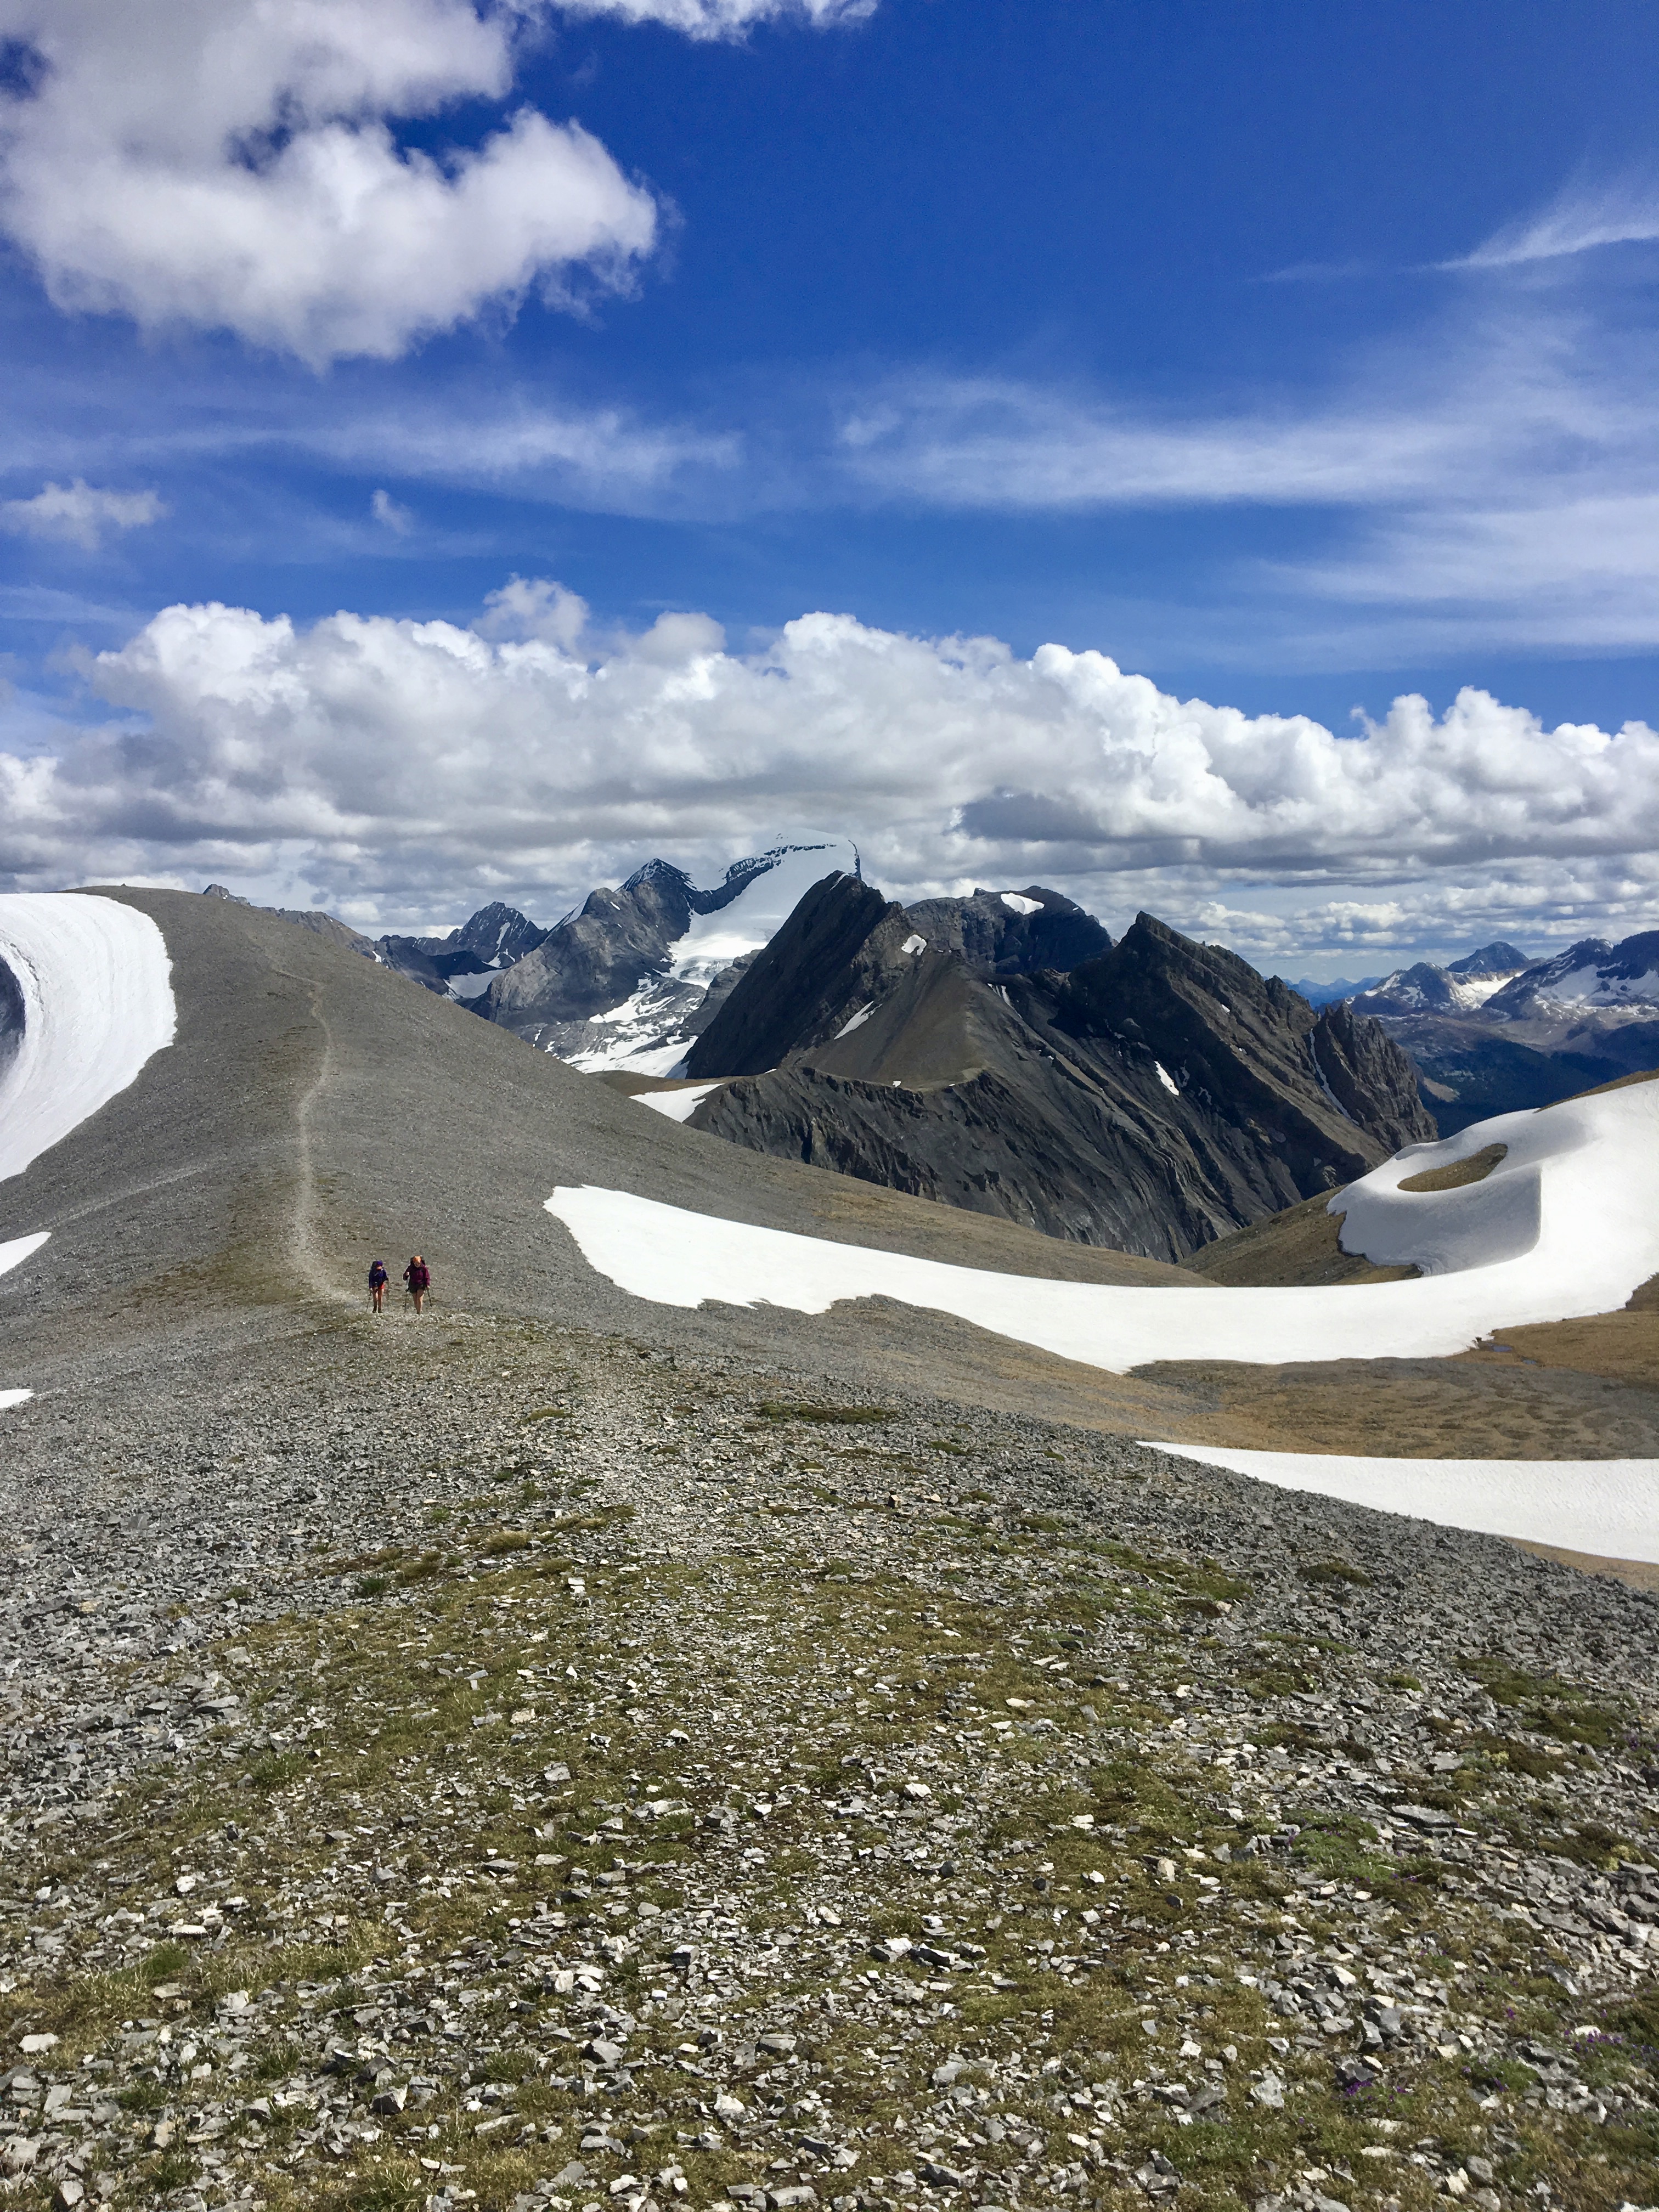
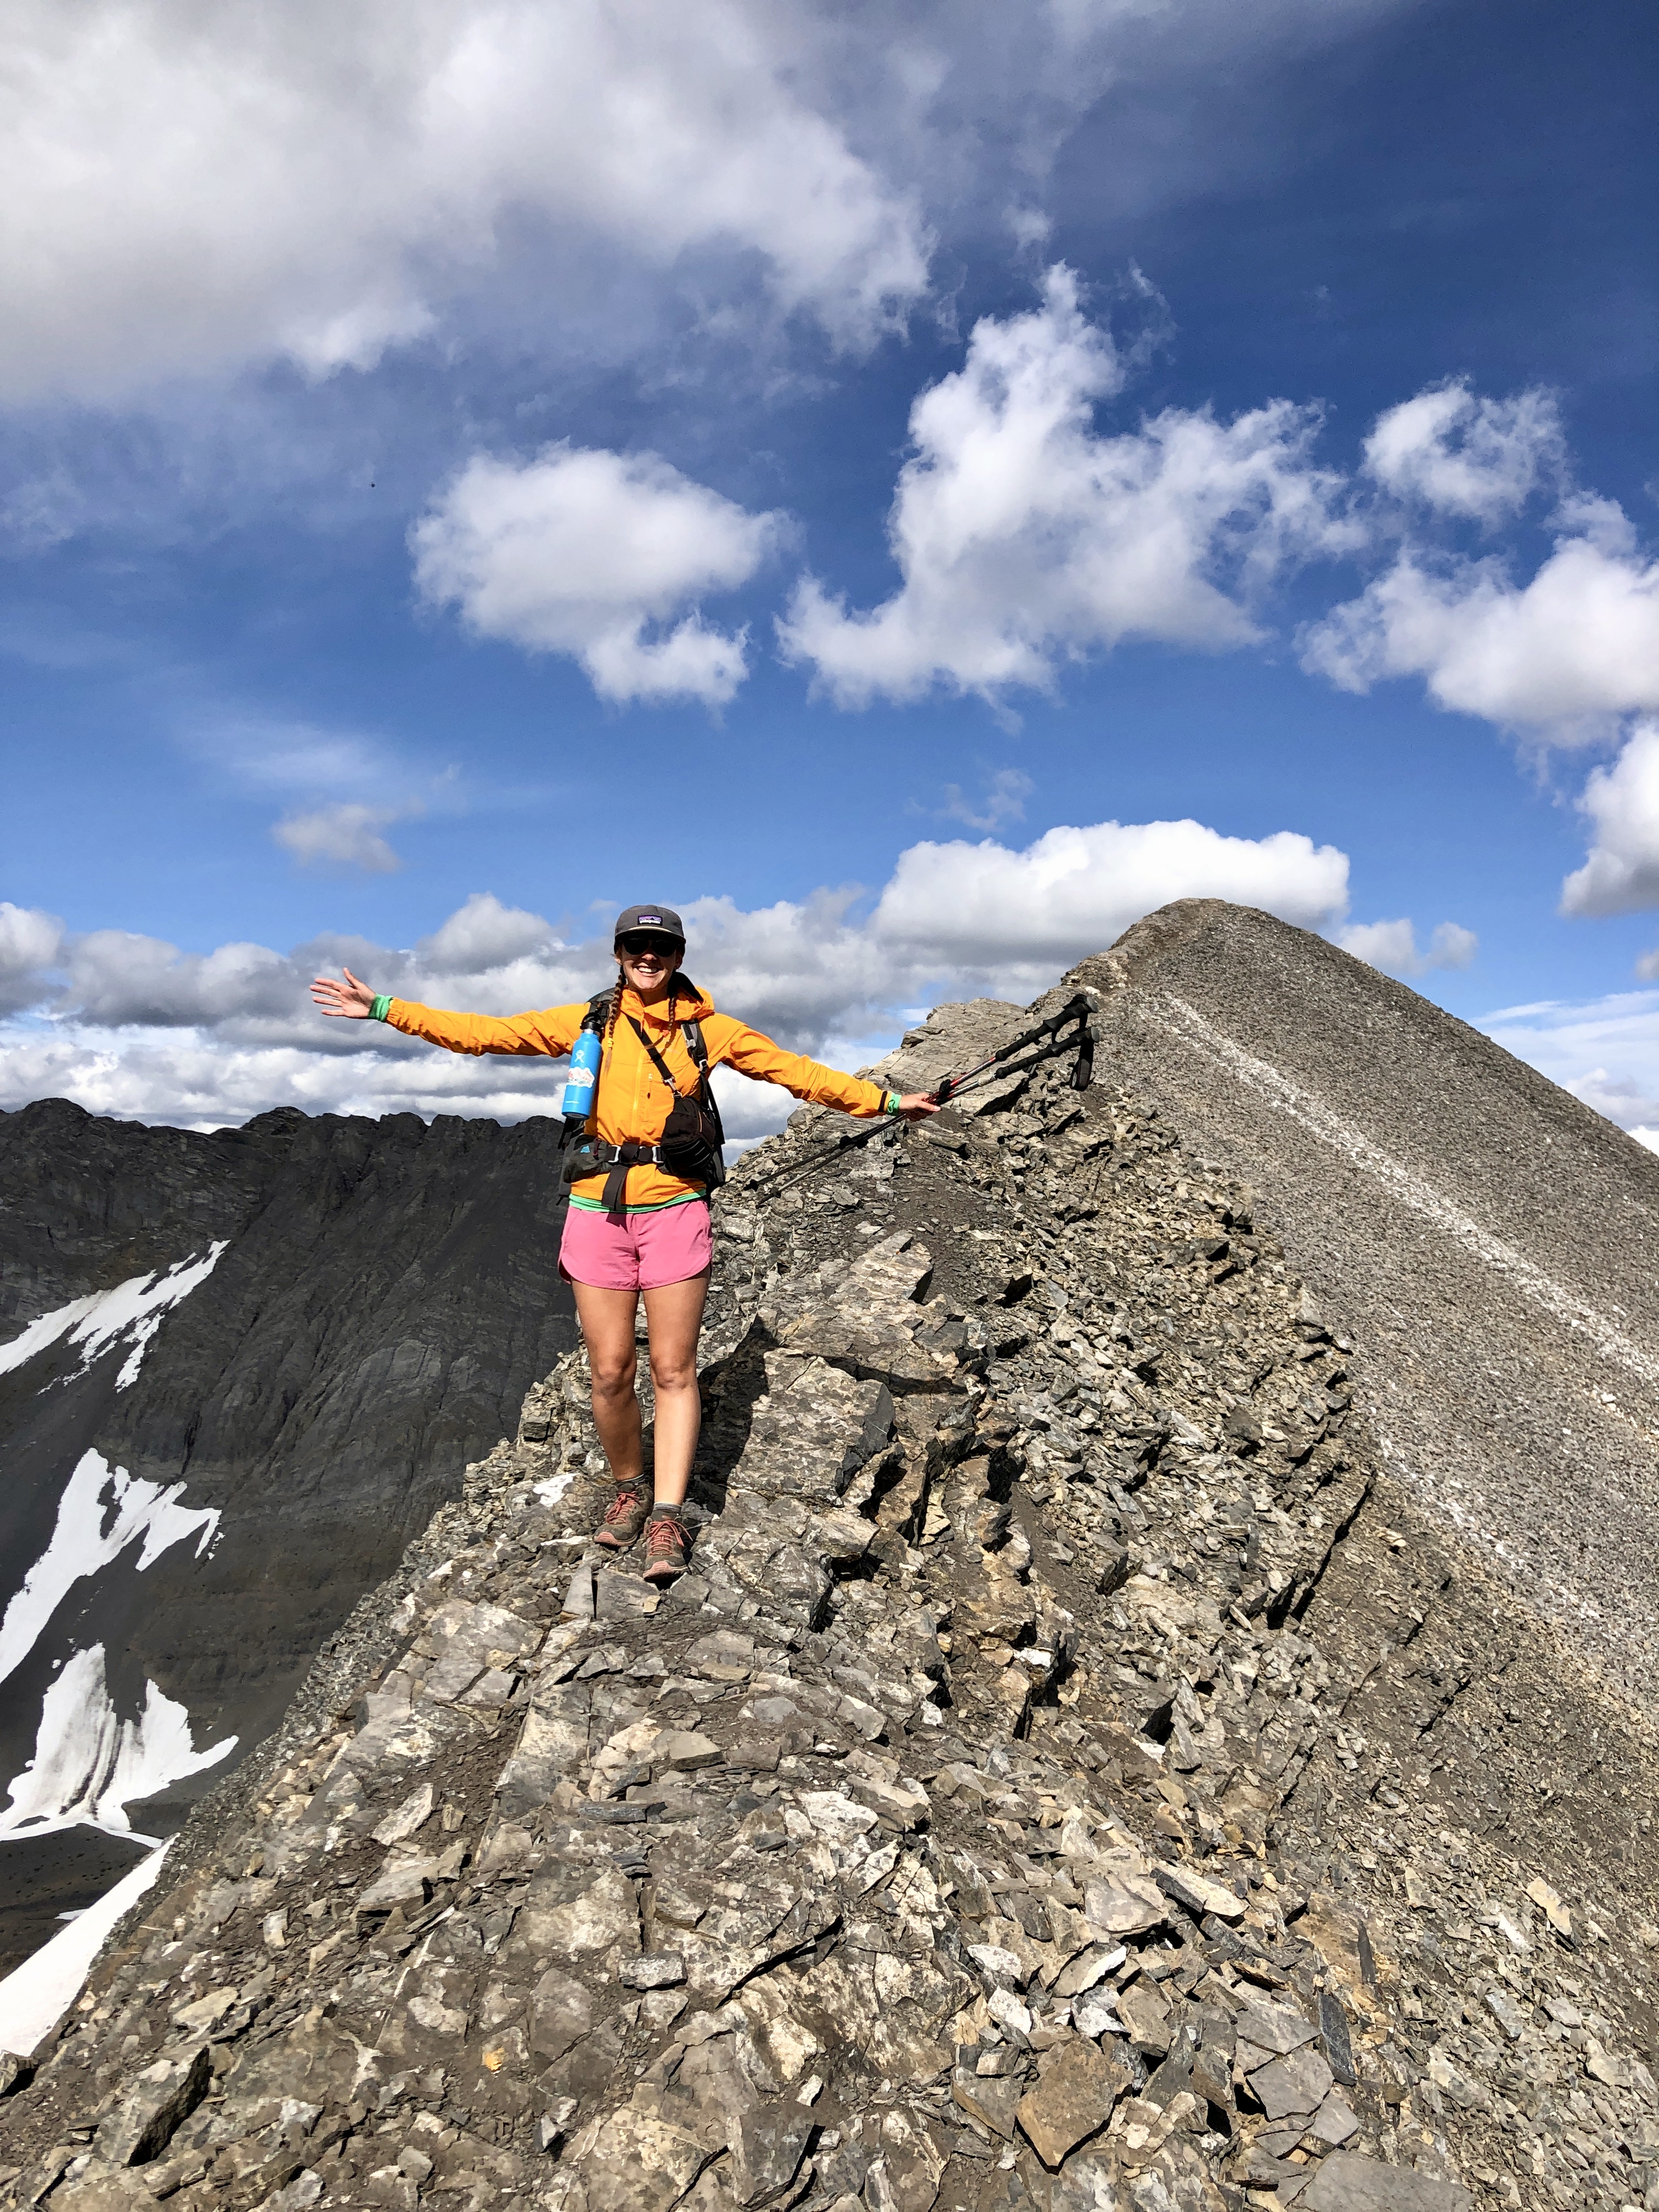
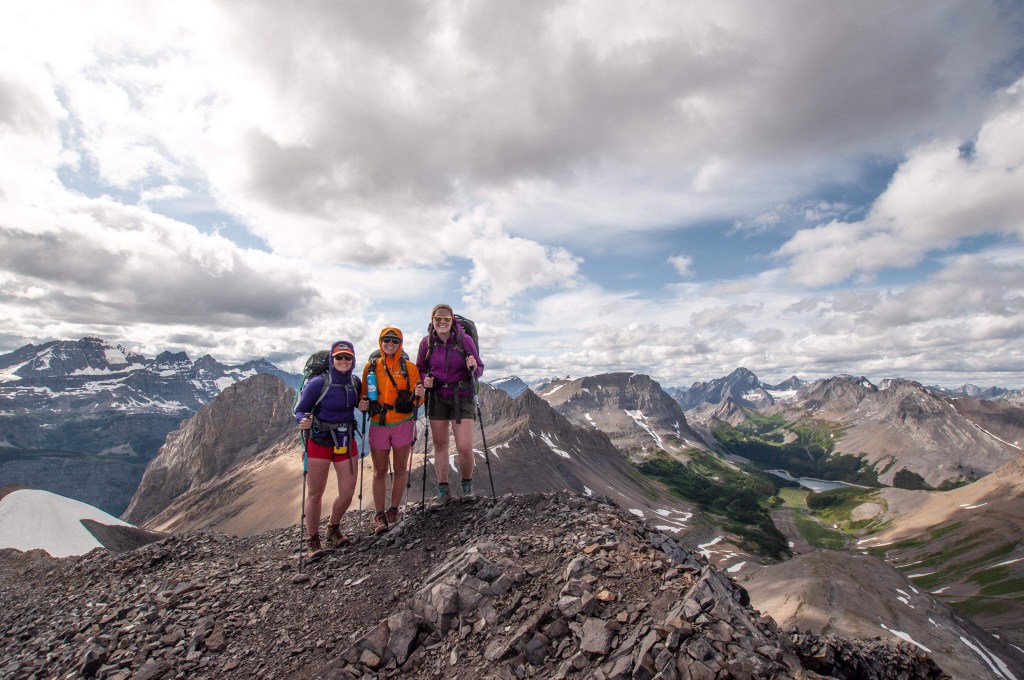
Once you make it to the start of the ridge, you are pretty much halfway at this point! Celebrate and give yourself a break on top of the ridge to look out over the amazing scenery that is in front of you. You also have a beautiful, roughly one hour ridge walk to look forward to from this point on before making your way down to Three Isle Lake.
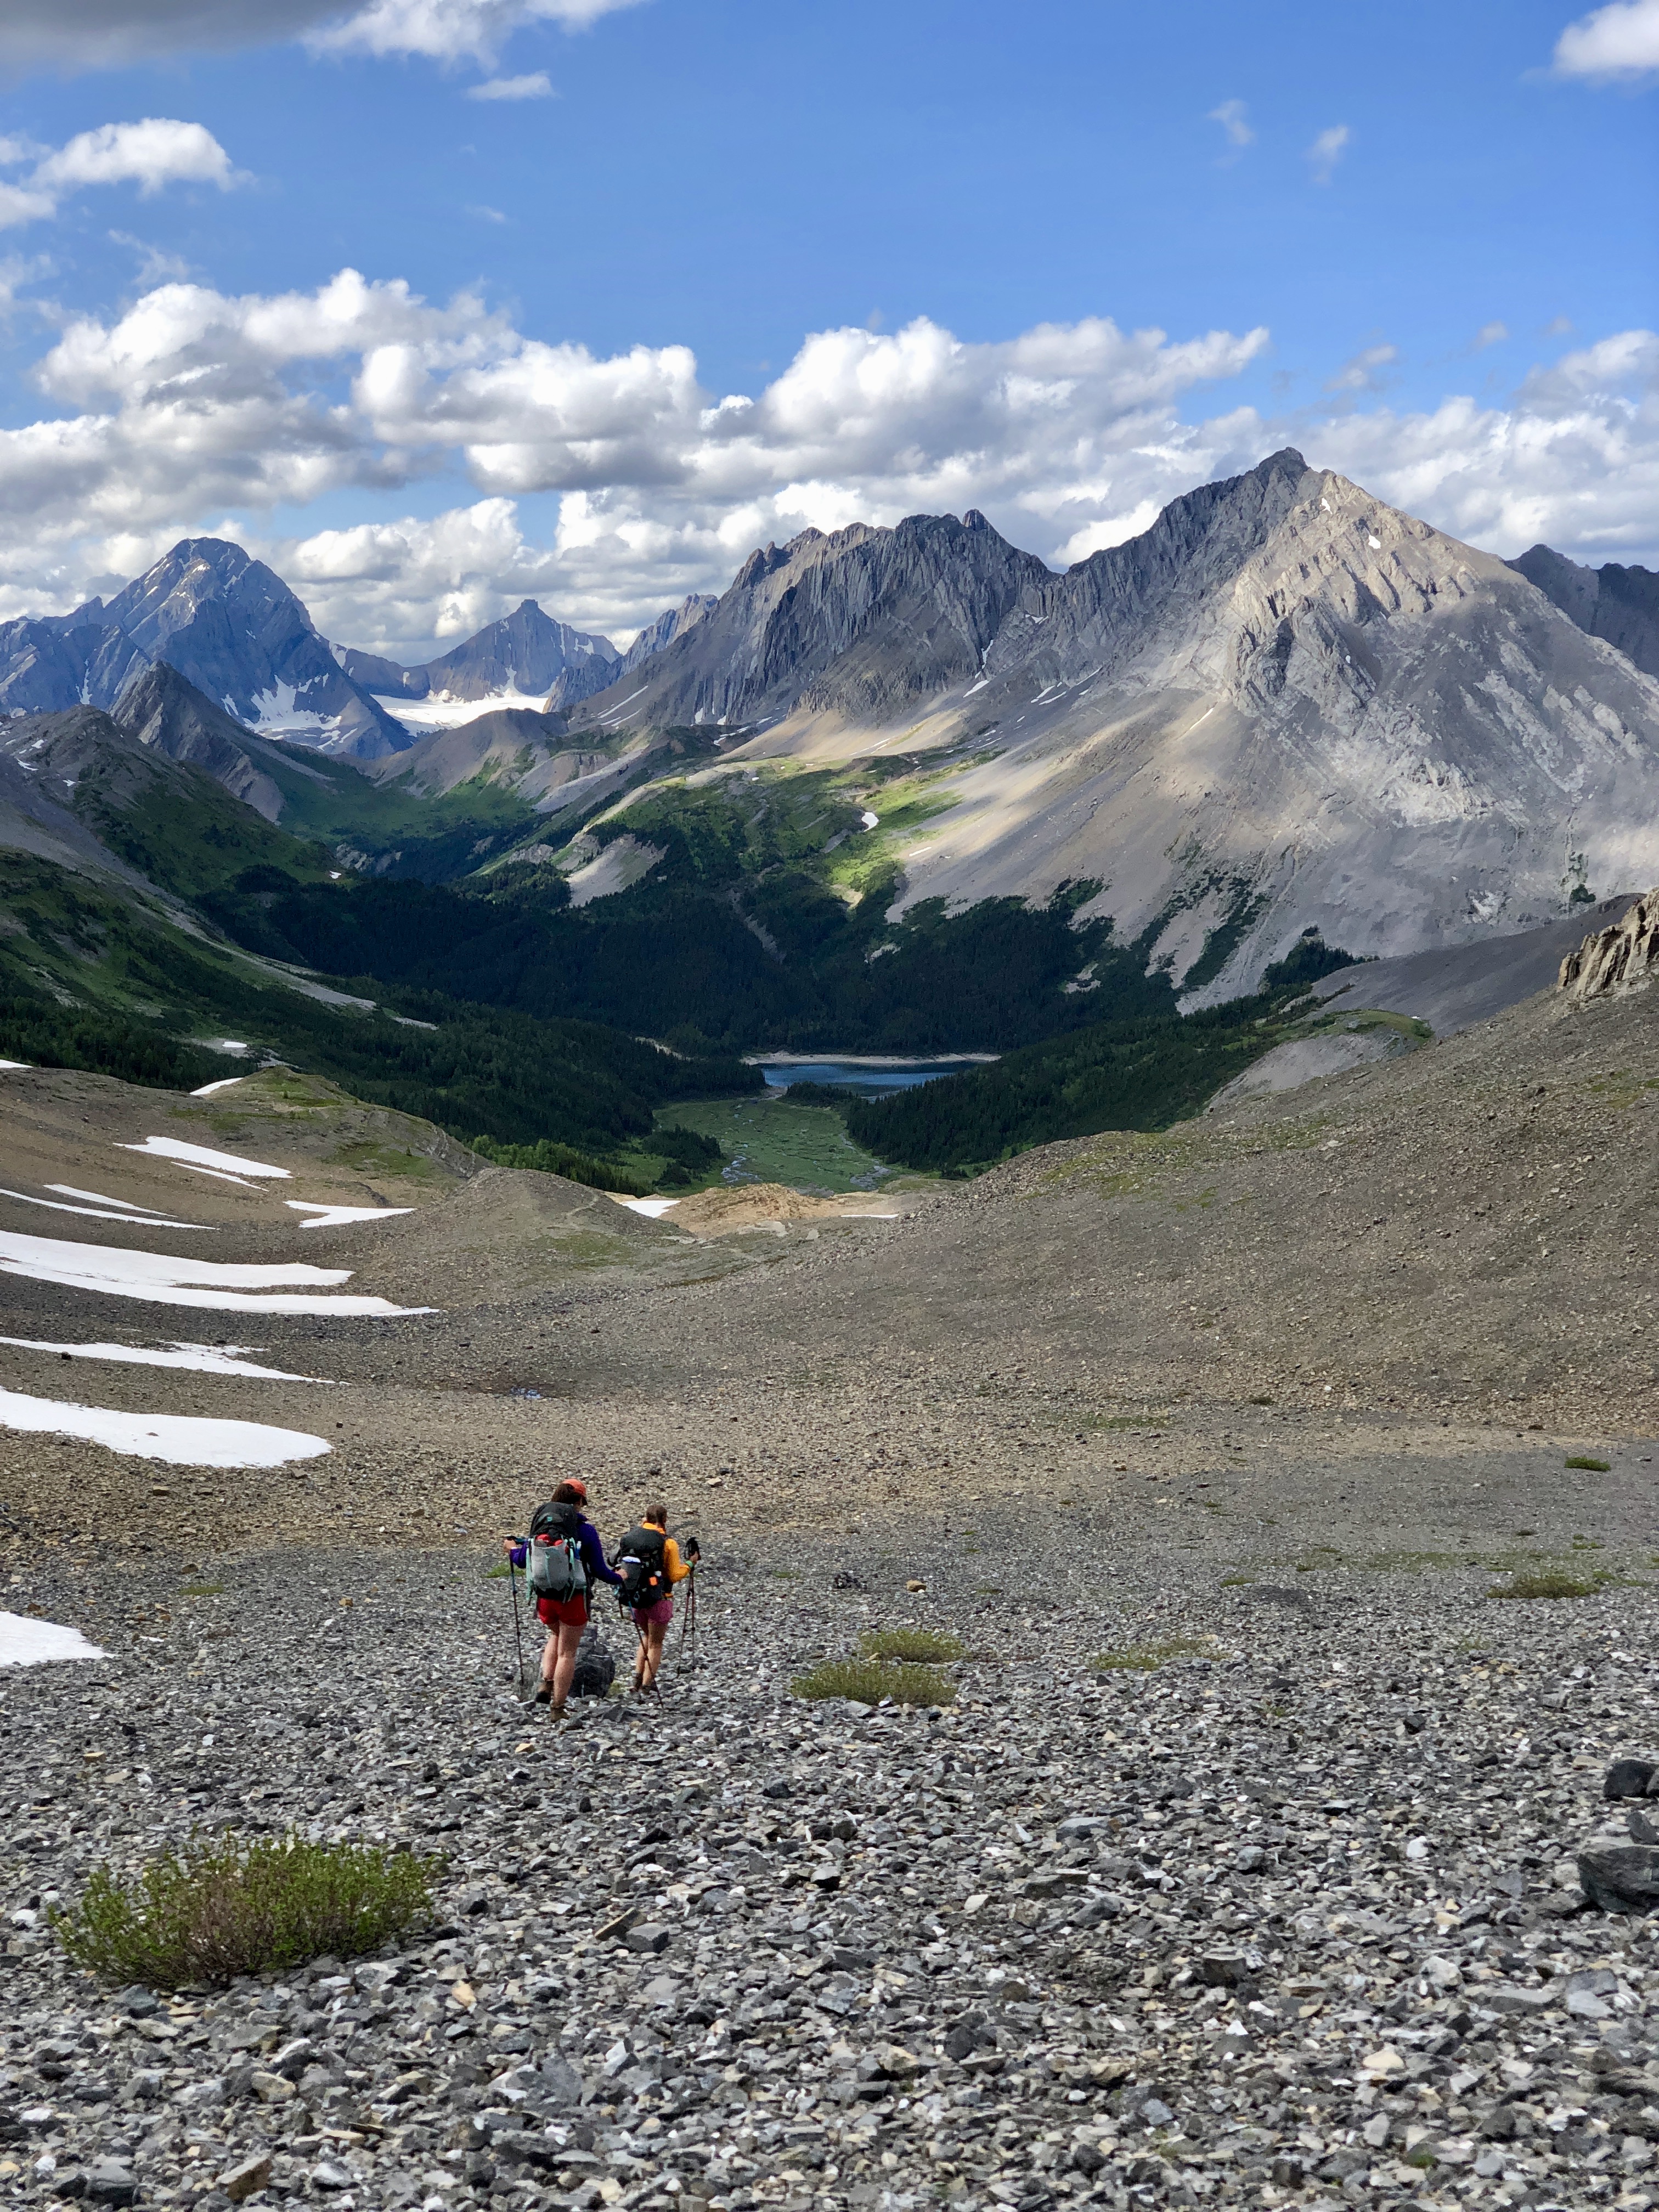
The backpacking along this ridge is open in many parts, breathtaking in every way, and also very exposed in certain sections. Take your time in these areas if you are nervous. We had some really strong winds while we were on the ridge, so we crossed these sections carefully. Once you’ve crossed the ridge, it’s time for a steep descent back down to the meadows to make your way to Three Isle Lake. The first part of the descent is steep and goes through scree, however, it eases off as you make your way down. Be careful here though. If you’re like us and you’ve been going since the car, we were pretty tired so it’s important to watch your step as your legs get tired and lazy. The further down you go, the trail pretty much disappears but by this point you’re in a big, flat, open area. Keep following this way until you see signs for Three Isle Lake Campground. Follow these signs, and before you know it you’ll be there.
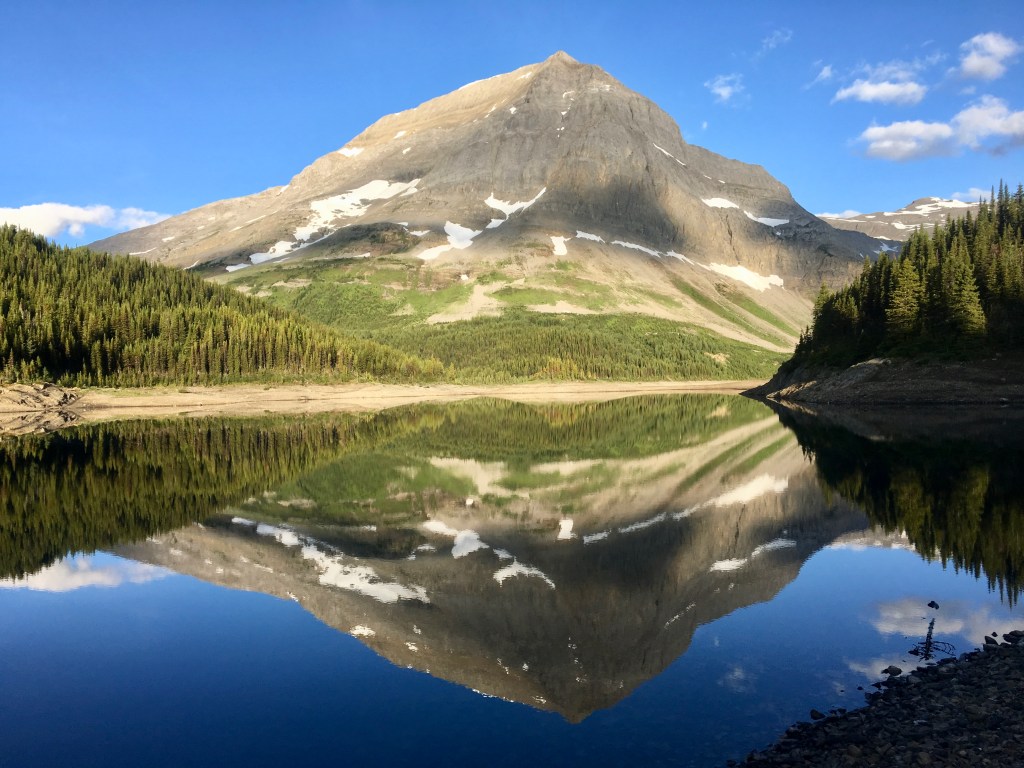
If this is your stop for the night, well, you finally made it! Be proud! We were exhausted by this point, having come in all the way from the car to this campground. We arrived later in the evening, and someone was camping illegally as there were no tent pads left even though we had a permit. We were forced to pitch a tent on a flat spot we found and hope for the best. It is really important that you obtain a permit if you are using these campgrounds, as pre-designated tent pads protect the fragile environment in these areas. We felt horrible having to find a flat spot that was not a tent pad (judging by how it looked however, we believe it was an old tent pad), but we had no choice as all the pads were taken. This is also an important point for those who do not obtain proper permits, that you not only create a difficult situation for other users, but you also directly create a negative impact on the environment. Anyways, once we had set ourselves up for the evening we enjoyed a much anticipated dehydrated dinner and treats. It didn’t take long until the exhaustion finally won and we were fast asleep in our sleeping bags. The next morning, we were up early for quick breakfast and to pack up our stuff to hit the trail again. We did take a moment at Three Isle Lake however to just soak it in. The reflection in the early morning was beautiful to sit and see.
This was our second, and final day, and this day would take us from Three Isle Lake back to our car at Upper Kananaskis Lake. The trail is clearly marked the entire way and once you get away from the campground, the descent is steep. I was very happy to have my poles for this section as it’s killer on the knees, but before you know it you’ll be down to the much more gradual section of the trail that will take you back to your vehicle. This section of the trail will take a few hours and can seem long, but keep your head up as it is prime bear country for sure. Eventually, the trail will pop you out on the shores of Upper Kananaskis Lake but on the other side from which you started. Keep following the trail along the lake and eventually you will find yourself at the North Interlakes Parking lot. If you started your journey here then you are officially done!

If you are like us and started from the Upper Kananaskis Lake parking lot, then you have two options. You can either walk roughly 4-5km back to the car (I guarantee you it feels like forever), or you can try and hitchhike a ride back to the parking lot from one of the many others in this area. We decided to walk back to the car and if I am being honest, I think that we were all crying a little on the inside. We were pretty tired at this point and the car was so close yet so far away. Thank goodness the walk along the Upper Kananaskis Lake is beautiful. Eventually after a good hour, we found ourselves back at the car! We were done and we couldn’t be happier!

A few important things to note if you are choosing or deciding to do this trip:
- It is hands down one of the most beautiful trails I’ve done in Alberta! I can’t recommend it enough. Almost every single part of the trail was incredibly scenic.
- This is prime bear country. Make sure everyone in your party is carrying bear spray with them and make sure to make noise while on the trail, especially in dense areas.
- This trail takes you through many different types of terrain, including some with very real exposure. If you are not comfortable with narrow ridges, rocky terrain, and steep drops, I would recommend doing some trips to work up to this one. These sections also feel trickier than usual with a big pack on your back.
- Aster Lake and Three Isle Lake are the two main campgrounds along this route. Please obtain a permit if planning to use them. However, if upon booking your trip these campgrounds are full, you are able to camp without a permit at the tarns in BC right before you head up the scree slope to gain the ridge.
- You can hike this loop in either direction. More often people hike the route clockwise, as it’s a more gradual ascent with a steep descent. However, counterclockwise is definitely an option! You will just gain your elevation much quicker and have a longer descent down. Choose whichever you prefer.
- Good route finding skills are important. Bring your GPS tracks, bring a map, and do your research ahead of time (like you’re already doing by reading this blog).
All in all, for the avid backpacker and adventure seeker, I cannot recommend this trail enough. I was mind blown every step of the way and the views and terrain are an incredible experience. I personally love exposure, so walking along the ridge was a highlight for myself. There is a reason this hike is considered one of the best backpacking trips in the Canadian Rockies. If you like a good challenge, mountain views, alpine meadows, waterfalls, lakes, and exposure, then add this backpacking trip to your goal list now!

Leave a comment